Vinyl Flooring in Long Beach, Huntington Beach & Yorba Linda, CA
Luxury Vinyl Floors That Combine Style, Comfort, and Durability for Every Room
Be Prepared for a Flawless Vinyl Installation
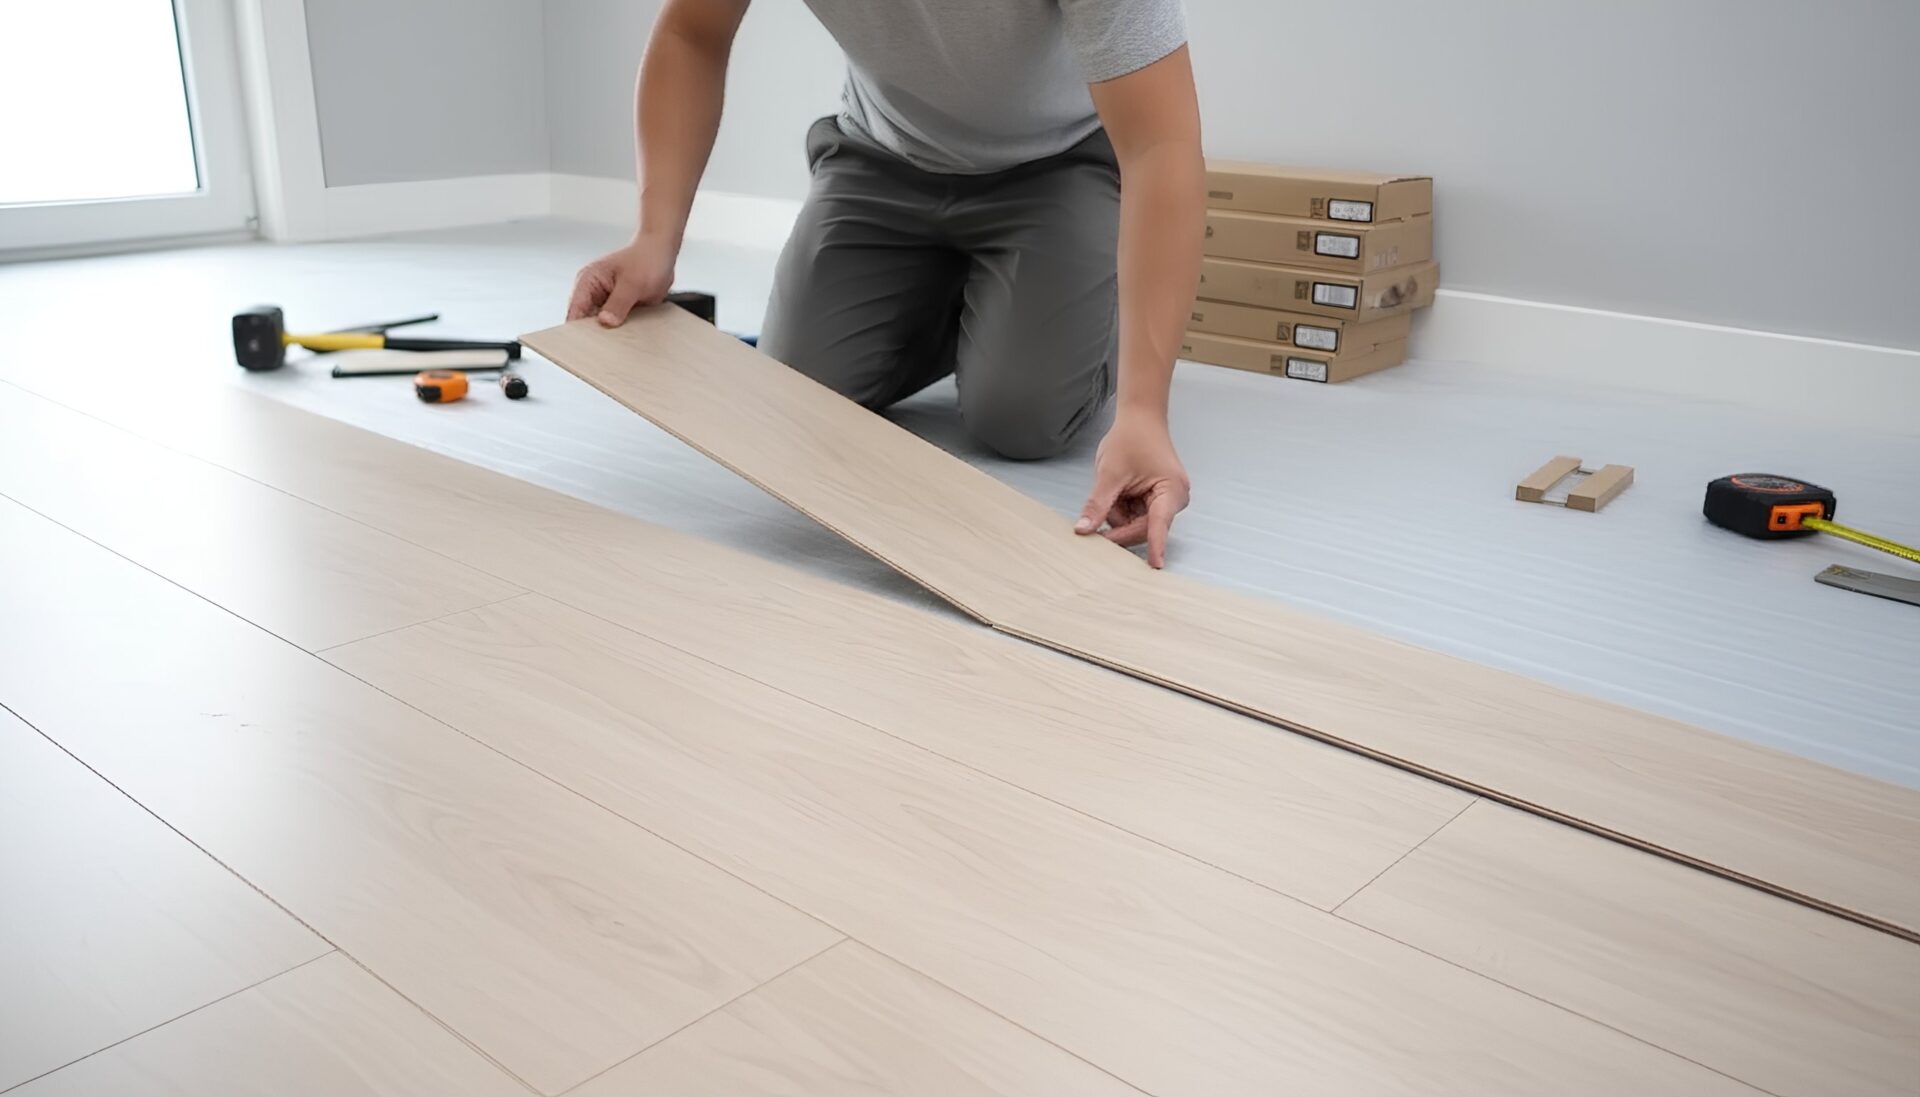
At Family Floors, we want your Southern California vinyl installation (in Yorba Linda, Long Beach, or Huntington Beach) to be a smooth and stress-free experience. By being prepared, you can ensure:
- A Flawless Finished Product: Proper preparation minimizes the risk of issues during installation, resulting in beautiful and long-lasting vinyl floors for your home.
- Minimal Disruption: A well-prepared space allows our installers to work quickly and efficiently, minimizing disruption to your daily routine.
- A Stress-Free Experience: Knowing you’ve done your part ensures a smoother installation process, reducing stress for you and your family.
Learn what to expect and how to prepare for your vinyl installation. Contact Family Floors today to schedule a free estimate!

Before Vinyl Floor Installation
Priority One: Moving Your Furniture.
Remove all furniture and other objects and materials from the areas where the installation will take place. Some installers will move your furniture, but there may be an additional charge for doing so. Before moving, you’ll also need to empty the contents of china cabinets, closets and the like. Also, be aware that the area of installation must be climate-controlled (heated or air conditioned). Indoor humidity should be maintained between 45-65%.
Decide about Your Old Floor Covering.
Please consider how your old floor covering will be taken up and disposed of. This can be a time-consuming task. We recommend that you check with us about the cost and the method of disposal. If you prefer to remove your present floor covering, do it at least one day prior to arrival of your vinyl product to allow for cleanup and floor preparation. If removing old carpet, please leave tack strips in place and pull the staples out of the floor from the original pad.
What About the Trim?
In many cases, moldings and baseboards need to be removed for vinyl installation. Your installer may do this but at an additional charge, and they will probably not be responsible for damage or breakage due to dry or brittle wood. Painted baseboards, woodwork and paint may need retouching after the installation is complete. If necessary, this is your responsibility.
Next is the Subflooring.
Your existing subfloor may need to be prepared to receive the vinyl, or a new subfloor may be required. We suggest you discuss this with us and, if subfloor work is necessary, that it be done by qualified professionals. It is important that the subfloor be as clean and level as possible.
Be Prepared about the Clean-Up Process.
Installing new vinyl will produce waste. Usually these materials are collected by your installer and left at your trash collection site. Check with our representatives at Family Floors before the day of installation so you’re clear about the clean-up process and if there will added costs. Also be sure to ask about the plan for vinyl remnants.
During Vinyl Floor Installation
Be Home on Installation Day.
Be prepared to be at home the day of installation and be available in case the installation crew has questions. Your presence will ensure that the correct vinyl is installed in the right areas. Since it is difficult to estimate the length and circumstances of each job, some installers may not be able to give you an exact time of arrival. We suggest you be flexible and keep in touch with us.
Safety First!
Your installers will use a variety of tools and techniques that can make the work area hazardous. Please make sure that your children and pets are kept out of the work area on installation day.
Do a Walk-Through and Ask Questions.
We recommend that, prior to the completion of the installation, you walk through the job with the chief installer. This will give you the opportunity to ask questions and be clear on any final details.
After Installation Day
Time and Temp Are Important.
For the first 24 hours after your new LVP flooring is installed, avoid heavy foot traffic as the planks settle into place. Maintain a room temperature of 68°F or higher for at least 48 hours to support proper acclimation.
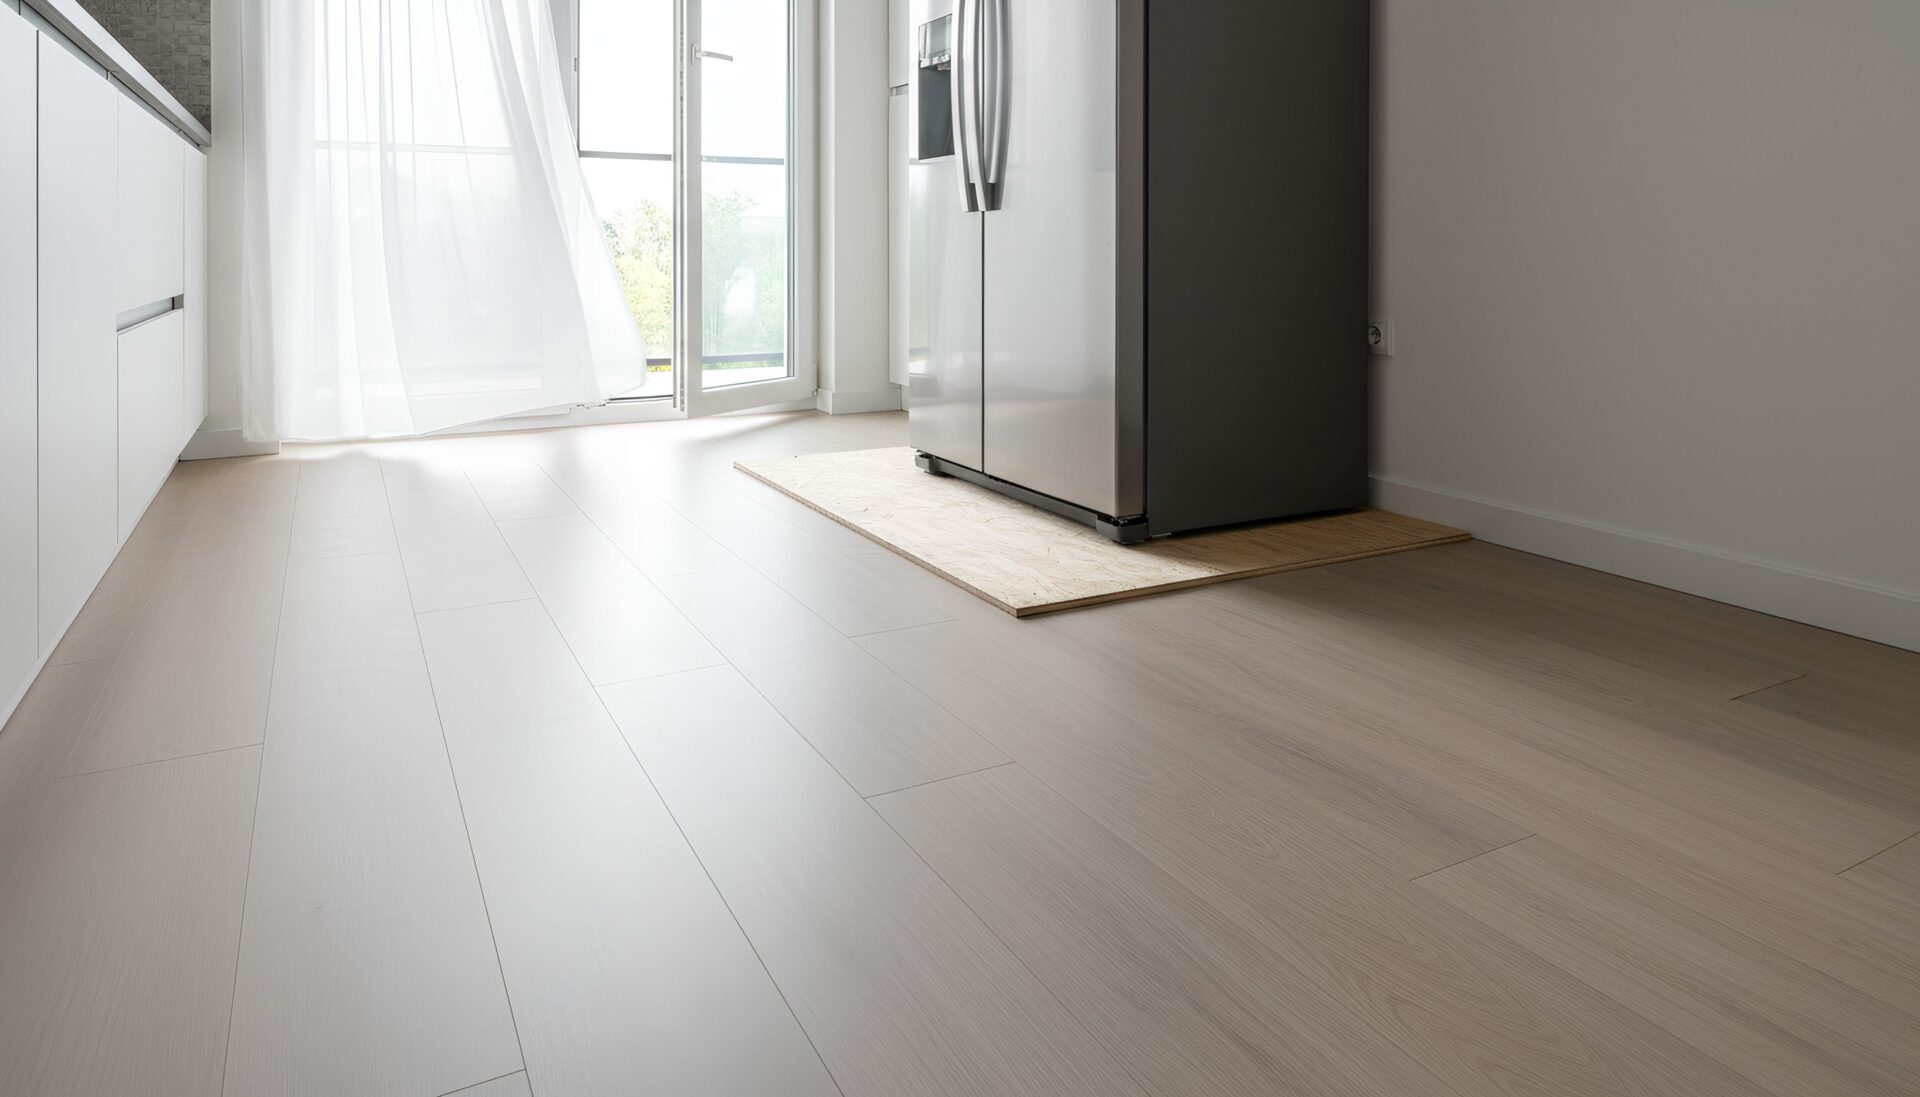
When you are ready to move appliances back into the room, place a protective board such as plywood or particleboard under them before sliding or repositioning. This helps prevent scratches and dents. Avoid using appliance wheels directly on the floor, as they can cause damage.hesive to cure.

Our Trusted Vinyl Flooring Brands
We partner with the industry’s most respected names in vinyl flooring to ensure exceptional quality and style.


